Proper installation of interlocking rubber flooring is crucial to ensure durability, safety, and optimal performance. In this comprehensive guide, we show you the best professional practices for a perfect installation.
Why Choose Interlocking Rubber Flooring?
Interlocking rubber flooring has become the preferred solution for gyms, sports areas, daycare centers, and commercial spaces. Its modular design offers unique advantages that differentiate it from other types of flooring.
Main Benefits:
- Adhesive-free installation: Interlocking puzzle system
- Easy maintenance: Simple cleaning and disinfection
- Impact absorption: Protects equipment and reduces fatigue
- Anti-slip: Safe surface even when wet
- Durability: Resistant to wear and chemicals
Required Materials and Tools
Before starting, make sure you have all the appropriate materials. Preparation is key for successful installation.
Rubber Flooring
Sufficient quantity + 10% extra for cuts and adjustments
Tape Measure and Level
For precise measurements and level verification
Industrial Cutter
For precise cuts on edges and corners
Cleaning Equipment
Industrial vacuum and mop
Professional Tip
We recommend using premium quality rubber flooring like those offered in our catalog. The difference in durability and performance is noticeable.
Step-by-Step Installation Guide
Step 1: Area Preparation
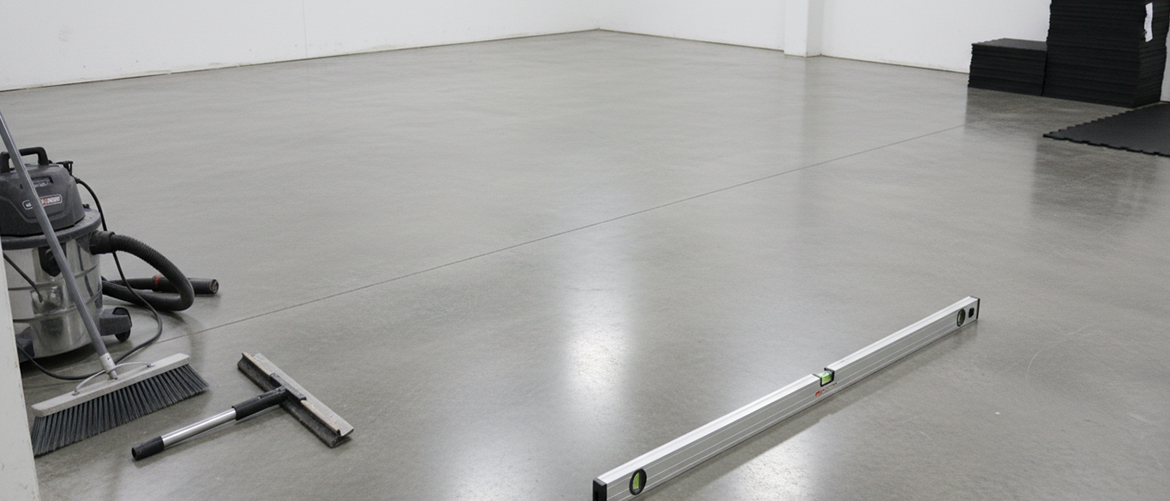
Preparation is 50% of success: Thoroughly clean the existing surface. Remove dust, grease, oil, and any residue. The surface must be completely dry, level, and free of irregularities greater than 3mm per 2 meters.
Step 2: Design Planning
Precise Measurement
Measure the entire area and mark the center point. This will help maintain symmetry during installation.
Optimal Distribution
Plan the layout to minimize cuts. Generally recommended to start from the center toward walls.
Consider Expansion
Leave a 5-10mm gap at edges to allow for thermal material expansion.
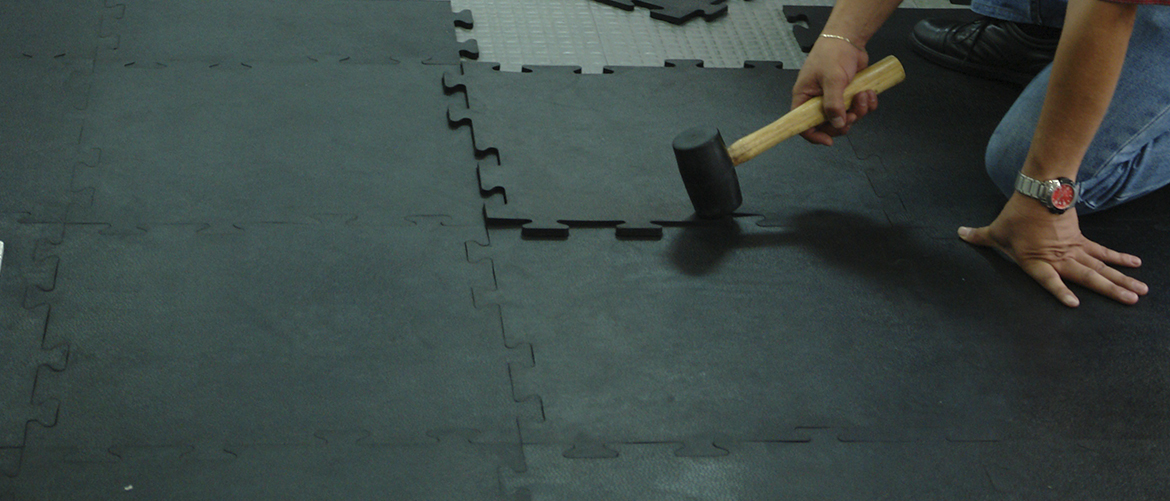
Step 3: Placement and Assembly
First Piece
Place the first piece at the previously marked center point. Verify alignment with guidelines.
Progressive Assembly
Connect pieces by pressing firmly until you hear the characteristic "click" sound. Work in complete rows.
Constant Verification
Every 3-4 rows, verify you maintain alignment and there are no gaps between pieces.
Step 4: Cuts and Special Adjustments
Important Precautions
- Always use protective gloves
- Measure twice before cutting
- Use new blade for clean cuts
- For curves, make radial cuts
Cutting Techniques
Straight Cuts
Use metal ruler and industrial cutter with new blade
Curved Cuts
Mark with template and make radial cuts
Pipe Holes
Mark exact diameter and cut in X from center
Post-Installation Maintenance and Care
Maintenance Schedule
Daily
Vacuum or dry sweep. Clean stains immediately.
Weekly
Deep cleaning with neutral rubber cleaner.
Monthly
Joint and edge inspection. Rotation in high-traffic areas.
What NOT to Do
- Do not use ammonia or bleach products
- Do not drag heavy equipment without protection
- Do not use metal bristle brushes
- Do not expose to prolonged extreme temperatures
Comparison: Rubber Flooring vs. Other Options
| Feature | Interlocking Rubber Flooring | PVC Roll | Rubber Carpet |
|---|---|---|---|
| Installation | Easy and fast (DIY) | Complex (requires professional) | Moderate |
| Durability | 15-20 years | 8-12 years | 5-8 years |
| Maintenance | Very low | Moderate | High |
| Installation Cost | $50-100/m² | $120-200/m² | $80-150/m² |
| Impact Absorption | Excellent | Regular | Good |
Frequently Asked Questions About Installation
Can I install over existing ceramic flooring?
Yes, as long as the ceramic is in good condition, without loose or damaged pieces. The surface must be clean, dry, and level. It's not necessary to remove the ceramic unless it's in poor condition.
What thickness do you recommend for a commercial gym?
For free weight areas we recommend 15-20mm. For cardio and machine zones, 8-12mm is sufficient. In our catalog you'll find all available options with detailed technical specifications.
Do I need any special adhesive?
Generally not necessary. The interlocking puzzle system keeps pieces in place. Adhesive is only required on steep slopes (greater than 15%) or areas with extreme vibrations.
Is it suitable for wet areas like bathrooms?
Yes, rubber flooring is water-resistant and has anti-slip properties. However, it's not recommended for constantly flooded areas. For showers and very wet areas, there are perforated versions that allow drainage.
Expert Advice...
"For commercial or high-traffic projects, we recommend conducting a small area installation test before proceeding with the entire project. This allows familiarization with the material and technique adjustment. Additionally, it's always better to purchase 10-15% more material than calculated to cover cuts, errors, and future repairs."
Sports Facilities Specialist
Featured Product
Our most popular interlocking rubber flooring:
- Thickness: 15mm (ideal for gyms)
- Anti-slip texture
- 10 colors available
- 10-year warranty
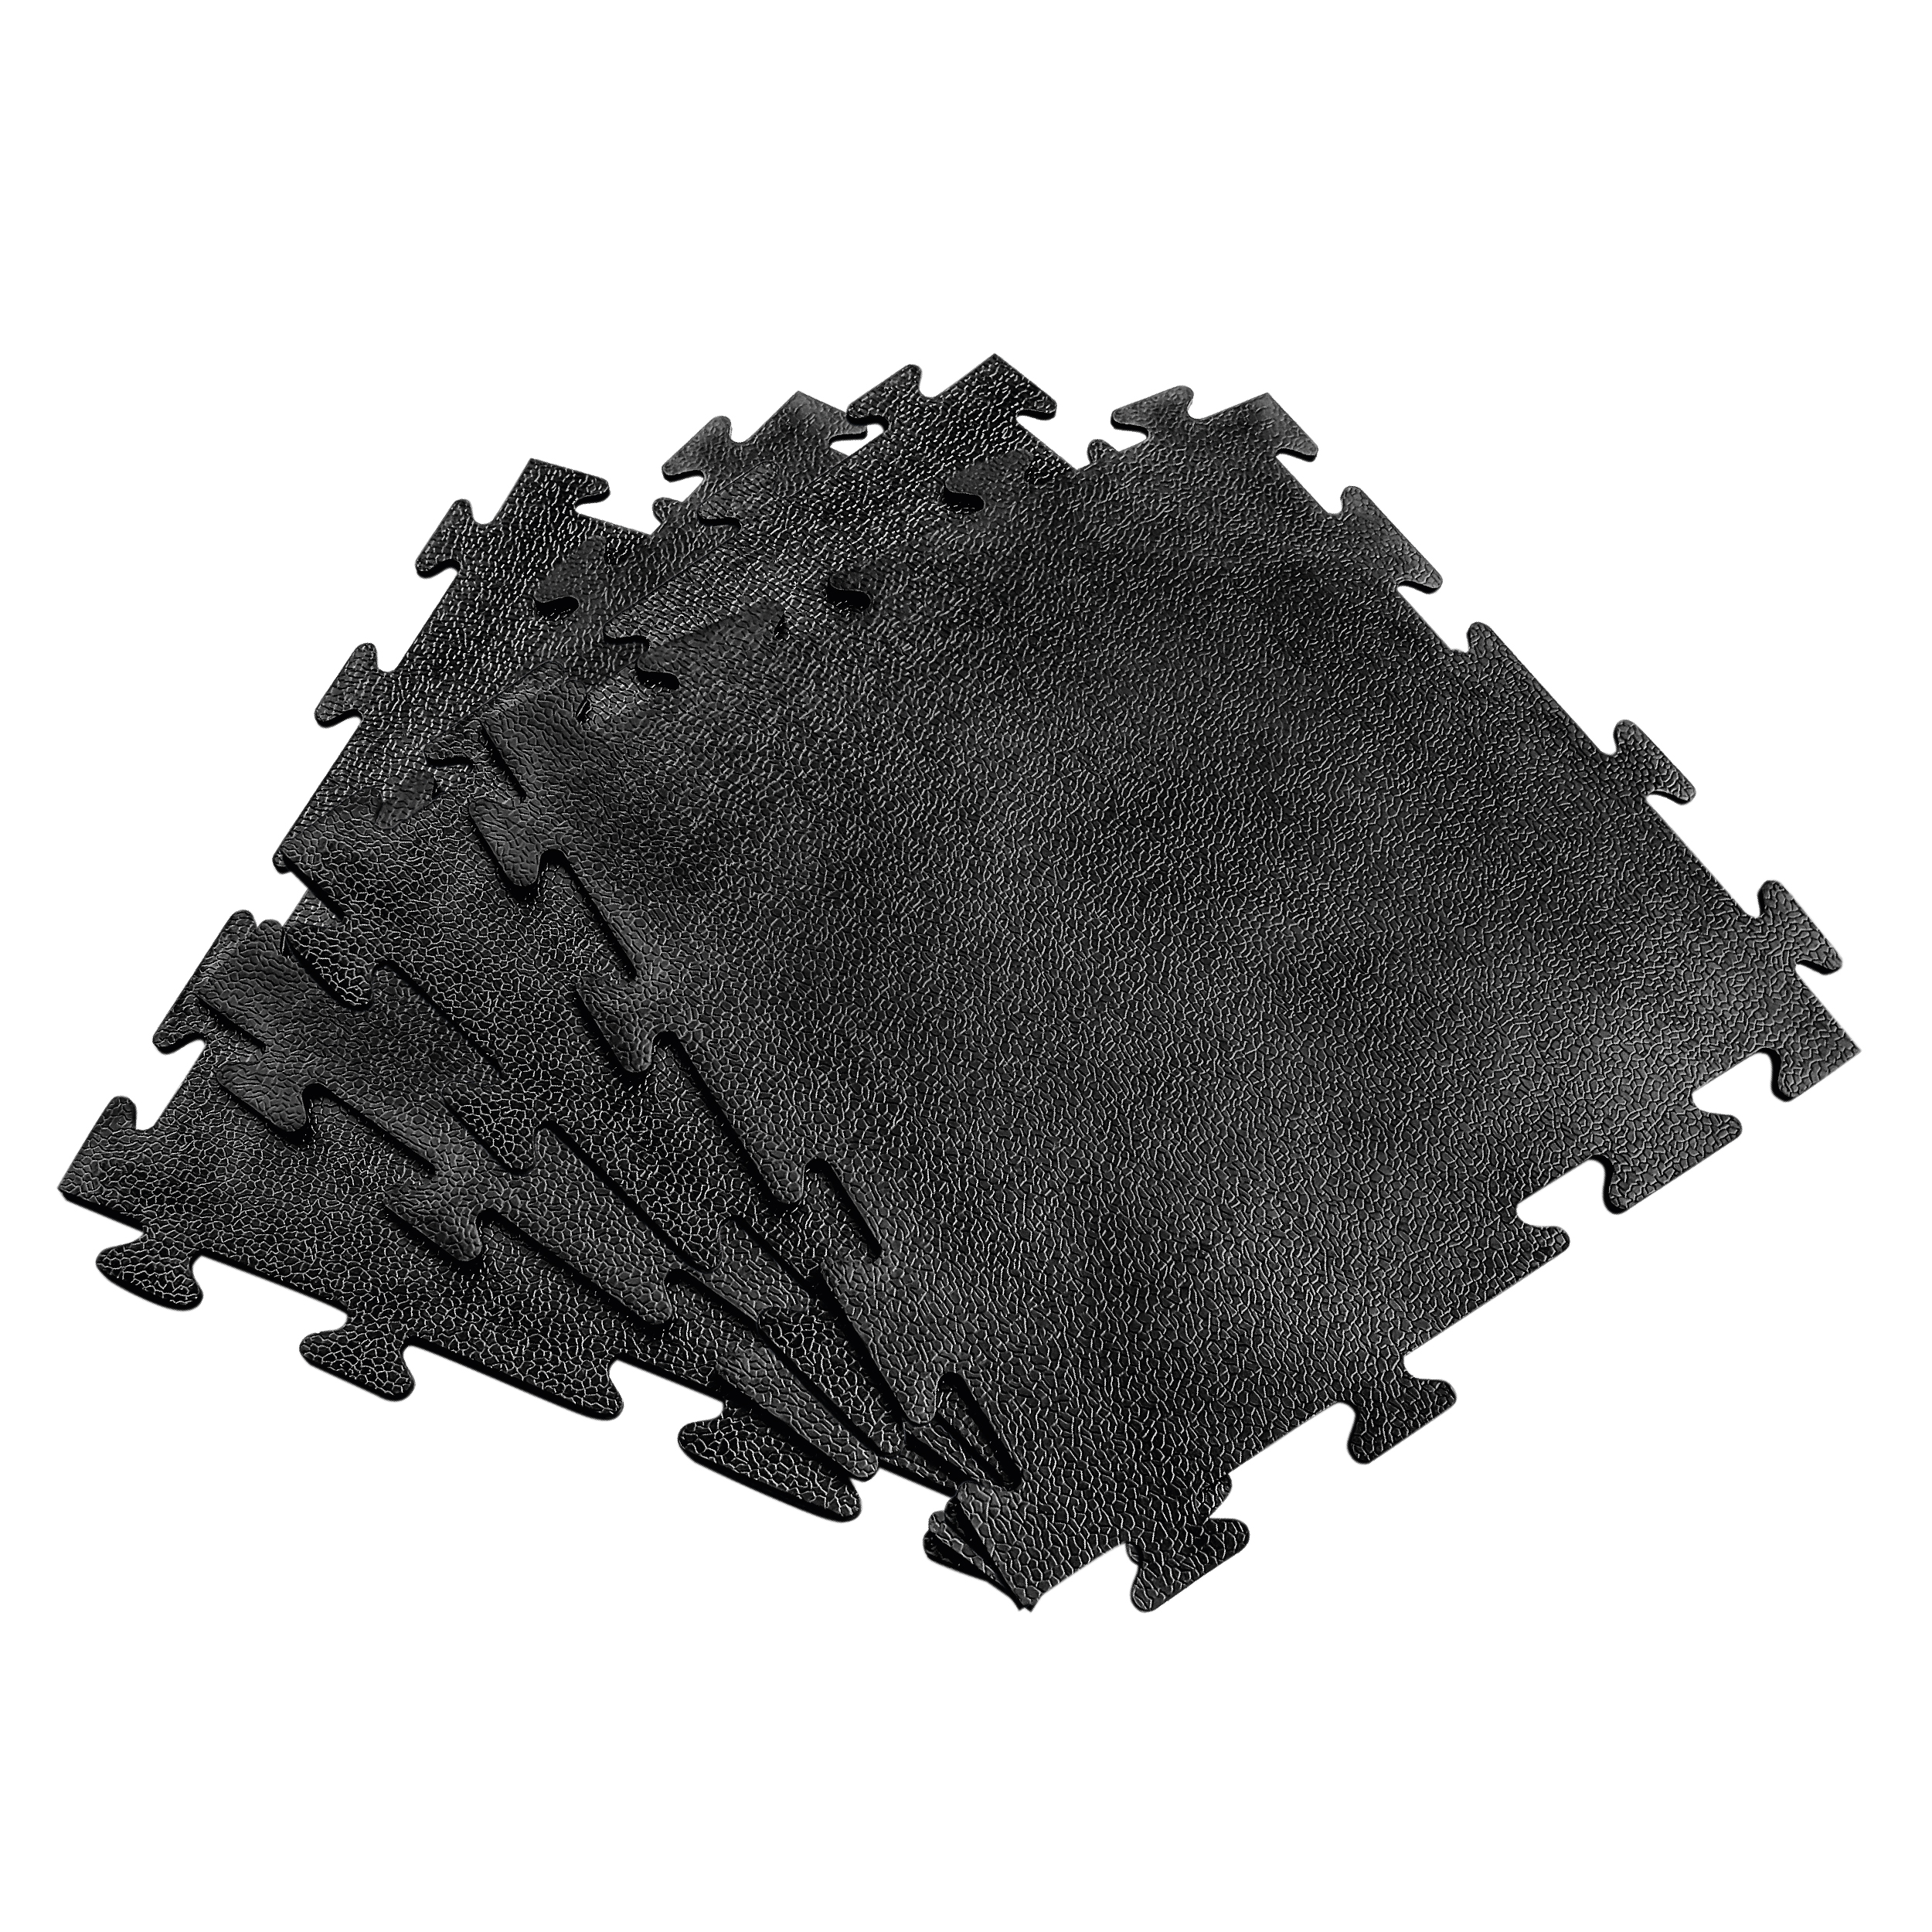
Premium Rubber Flooring
For gyms and sports areas
*Prices subject to change without notice